How to set up Stripe Token
Thank you for considering Stripe! This provider supports the following locations: Europe, USA, Canada, Australia, New Zealand, Singapore, Hong Kong, Mexico and Brazil. If you have any further questions regarding your country or region, please check Stripe’s website here.
We’ve recently made changes to our strip integration, which allows you to directly connect your accounts via Bókun!
How do I add Stripe as a payment provider?
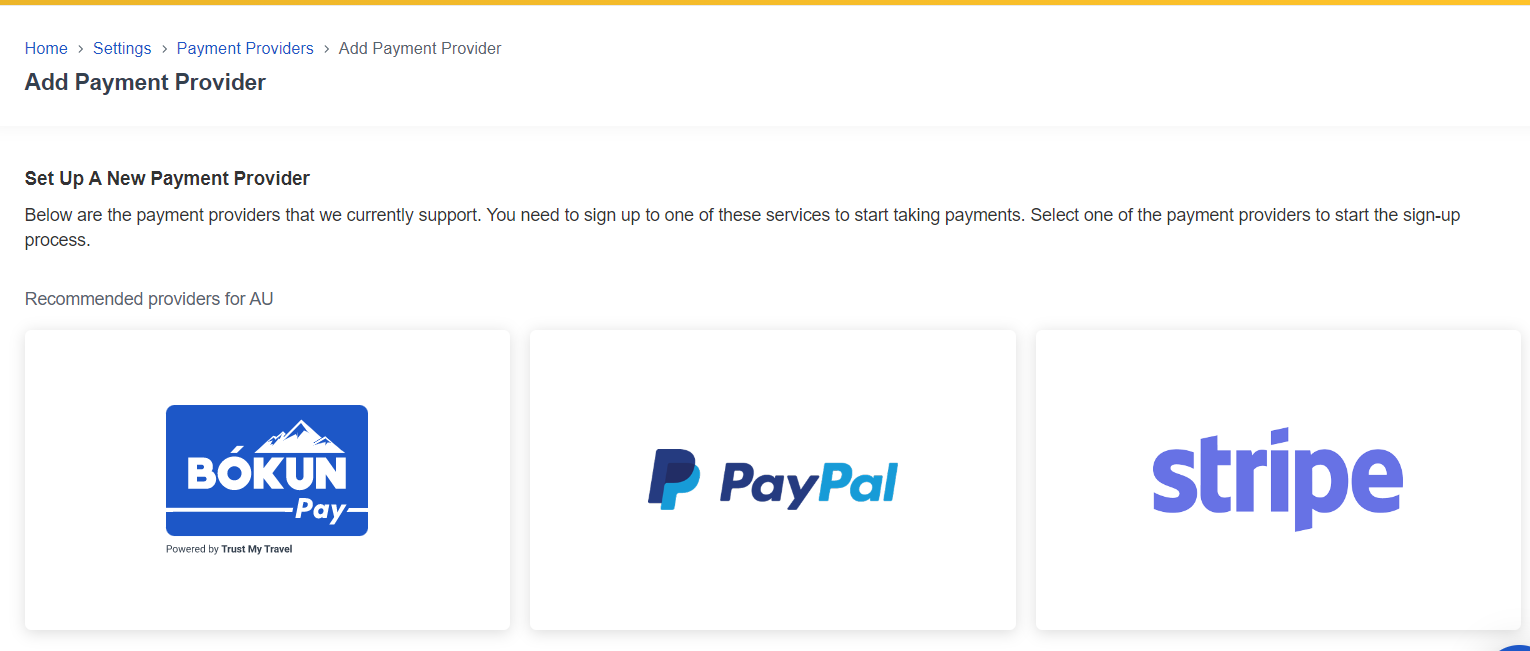
Click Settings then Sales settings to select Payment providers. Alternatively, enter Payment providers in the search bar at the top left of the navigation and select the first search result.
Select Connect a payment provider and select Stripe.
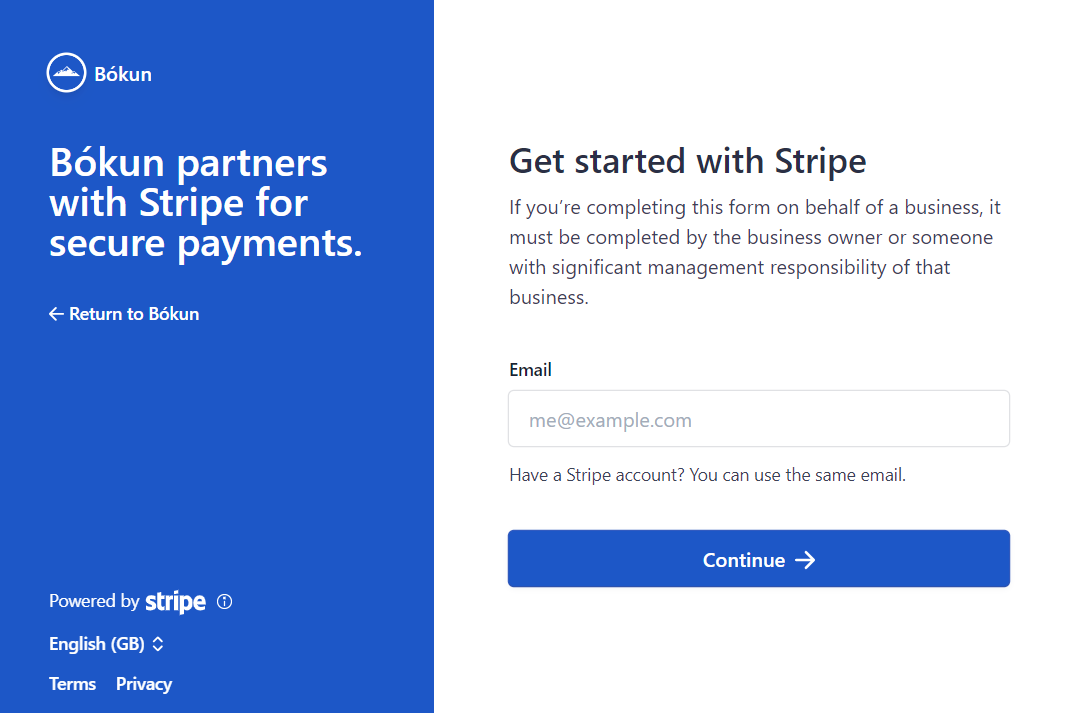
- Click Connect with Stripe and a new window will open to allow you to enter your Stripe details. If you already have an account with them, please use the same email address you’ve used during your account registration with Stripe.
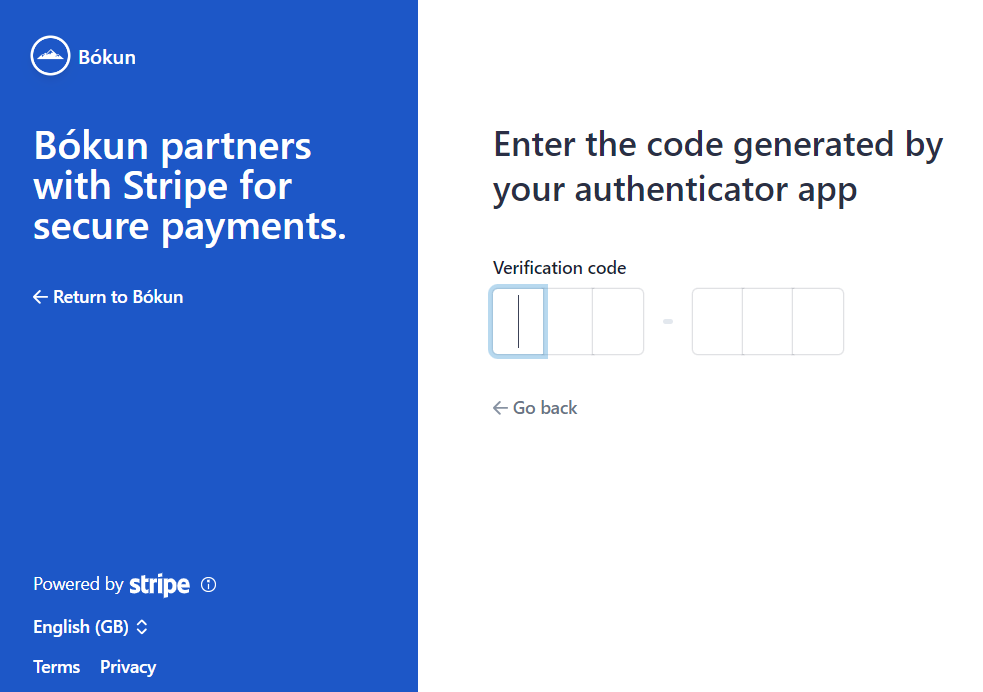
- If you’re creating a new account, you’ll be asked to add a password and confirm your contact number or an authenticator app.
If you select phone number, an activation code will be sent to you.
If you prefer the authenticator app, you will be asked to scan a QR code on your phone using the Google Authenticator app. The app will create a code for you to log into your account. Once entered you’ll receive an emergency back up code. DO NOT share this code with a third party, since they may be able to access your bank information on Stripe.
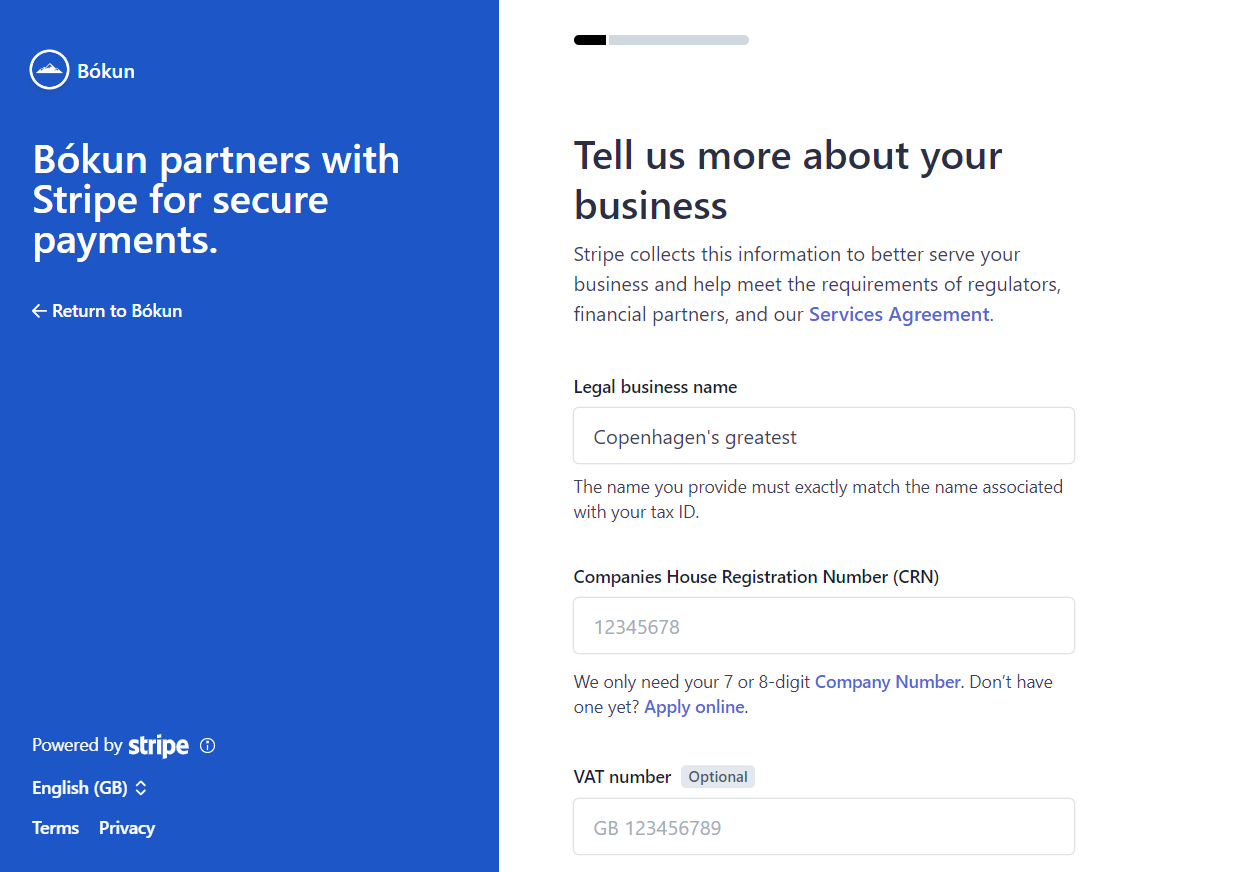
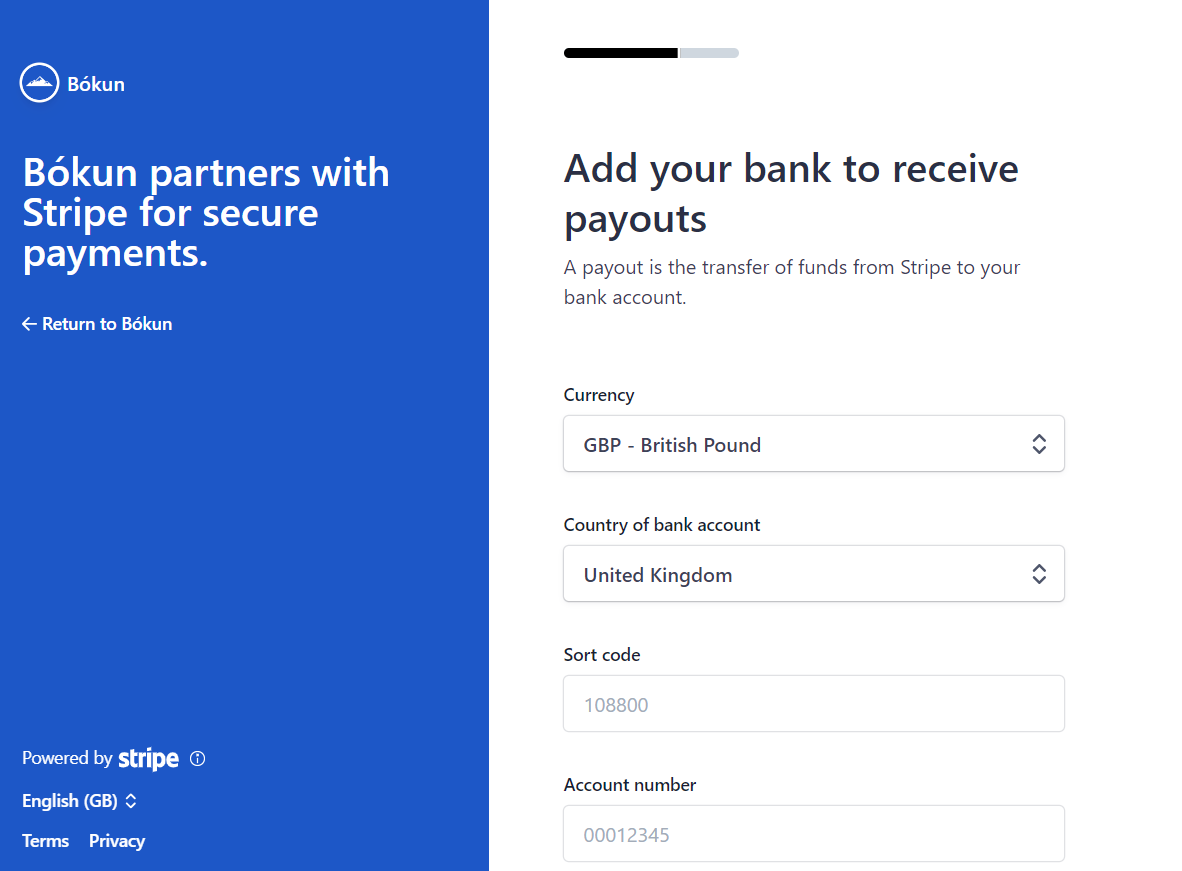
 Please enter your business, contact and bank information to create your account. Once done, you will have the option to review your details and submit all information.
 Once you’ve followed all steps, the payment provider will appear in your payment provider list on Bókun.

What next? How do I start accepting payments via Stripe Token?
You need to add the payment provider to your Booking Channel. A booking channel is an online sales channel that tracks where your online bookings are coming from. Usually, it will be your company's website. Learn more about Booking Channels.
You can sign up for more than one payment provider, that's why you need to select the correct one. You can for example use one payment provider for your European travelers, and another one for your US travelers.
Once your payment provider has been added, you will be automatically asked to assign it to a booking channel.
You can make further changes to your booking channels if you go to the booking channel article.
Now you are set and ready to accept payments on your website.
✴️ If you want to assign a previously created payment provider, you can also just select the channel symbol.

The last step: Test your payment process
After you add a booking engine to your website, it's a good rule to create a booking and pay for it. This is to test both the booking process and to double check that your payment option is functioning as it should. Learn more about how you can add a booking engine to your website and test the whole booking process.
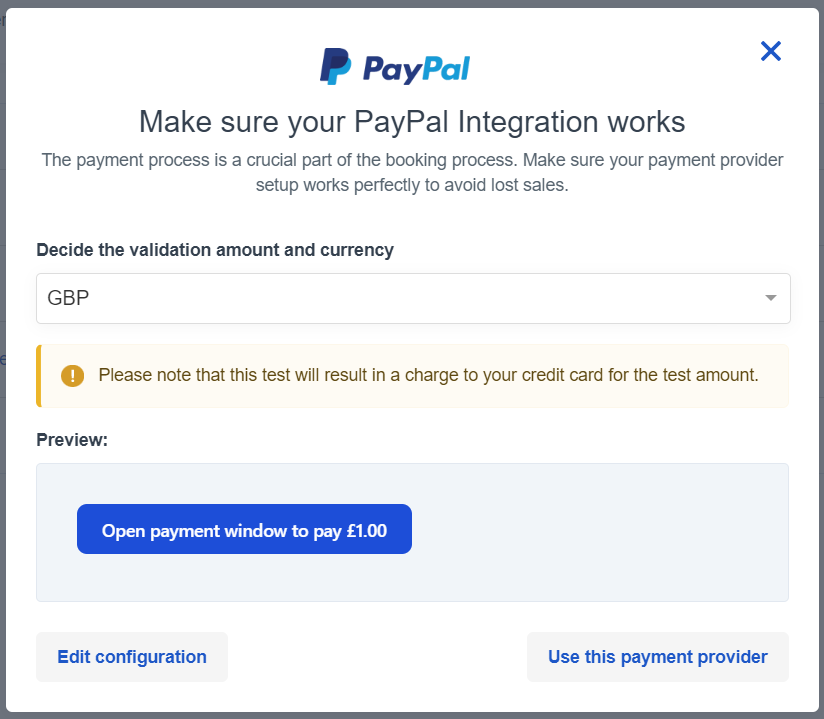
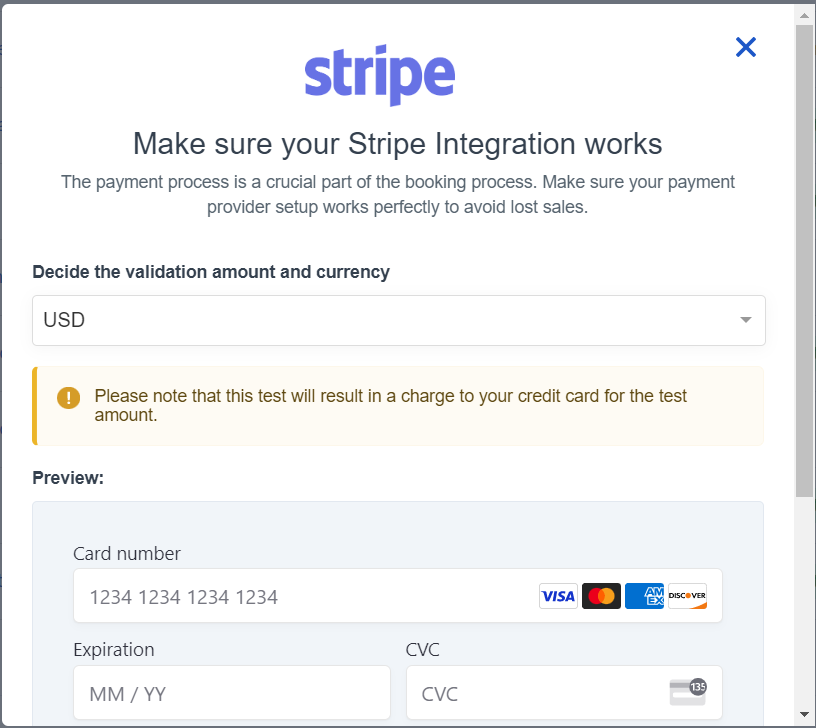
If your payment provider is either a redirect page or a Rapyd or Stripe token, you can test your payment provider directly in the payment provider section instead.

- Select the test icon on the right-hand side of the payment provider.
- You’ll then be able to test the connection charging 1 USD or the equivalent in your preferred currency to your credit card/payment provider.
⚠️ Please note that this test will result in a charge to your credit card for the test amount.