Bókun website: Navigation sections
Make your website more user-friendly by making the navigation clear.
This guide is to help you through the process of making your site more user-friendly when you have products that are more appropriate to be displayed together in small groups rather than in a large list of all of your products.
First off you should check out our support document on how to create sublists for your tours and connect them to widgets on your website. This article is about making sure your website is well set up to take advantage of those. Bókun Website Builder: How to choose which products should be bookable on your website
By adding the Advanced Website Upgrade app, you can add the TripAdvisor Reviews widget to your website. The App is FREE of charge. More information on our Apps.
Step 1: Create pages
To set up multiple tour groups pages (such as by region), you can build each page individually, however, we recommend only creating a single page, and then duplicating it.
This will make it easier so that you don’t have to start from scratch on each page, and will make your site look better. Click Pages > Gear icon > Duplicate to duplicate pages.
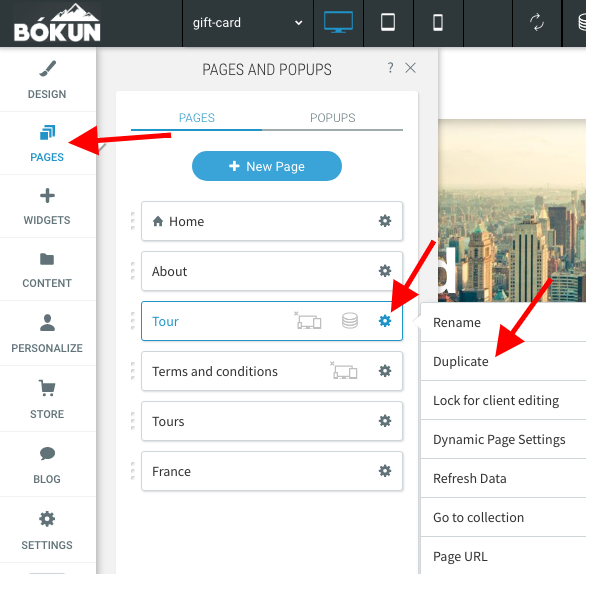
As shown above, there are 3 duplicate pages, for France, Canada, and America. Once each duplicate is created, you may edit the pages to reflect the distinct content they should have, such as different images, products, overviews, or anything else you feel that your customers should know about the particular group of products on that page.
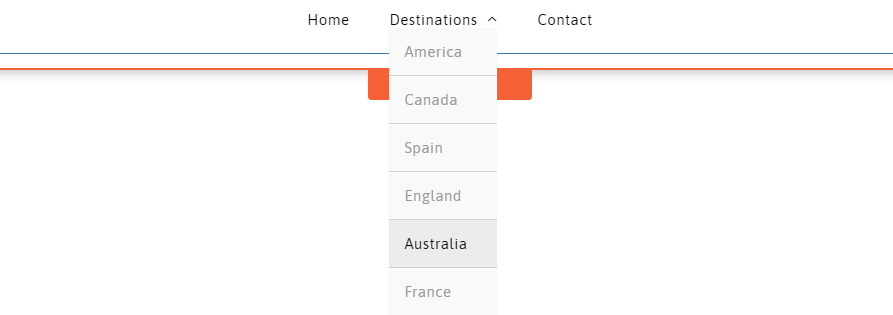
If you have a lot of different subgroups, you will find that they can make your header very busy for your customers. For good practice, you want to limit the amount of header options shown at once to about 4 items. If you have multiple new pages you want to create that are related, you may want to make a drop-down menu for them in the header. In the case below, we can put all of our destination pages together underneath the Destination page in a dropdown menu

Step 2: Create a drop-down
To create a dropdown menu, go back to the pages tab on the left. You will need to first create a blank page that will act as your navigation. This will be the page that appears in the header bar for your website. Once created, you can click and drag other pages to be tabbed underneath it, as shown below:
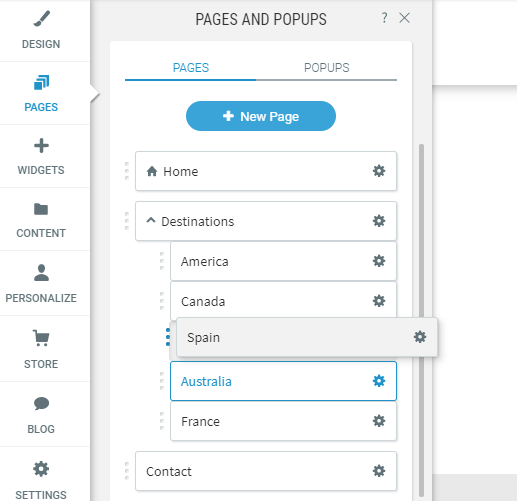
This will create a much cleaner header, and dropdown menu that customers can easily navigate.
Step 3: Your directory page
You will also want to consider how you want to format your directory page, in the event a customer clicks on that rather than any of the subcategories. For the example here is an example of a Destinations page:
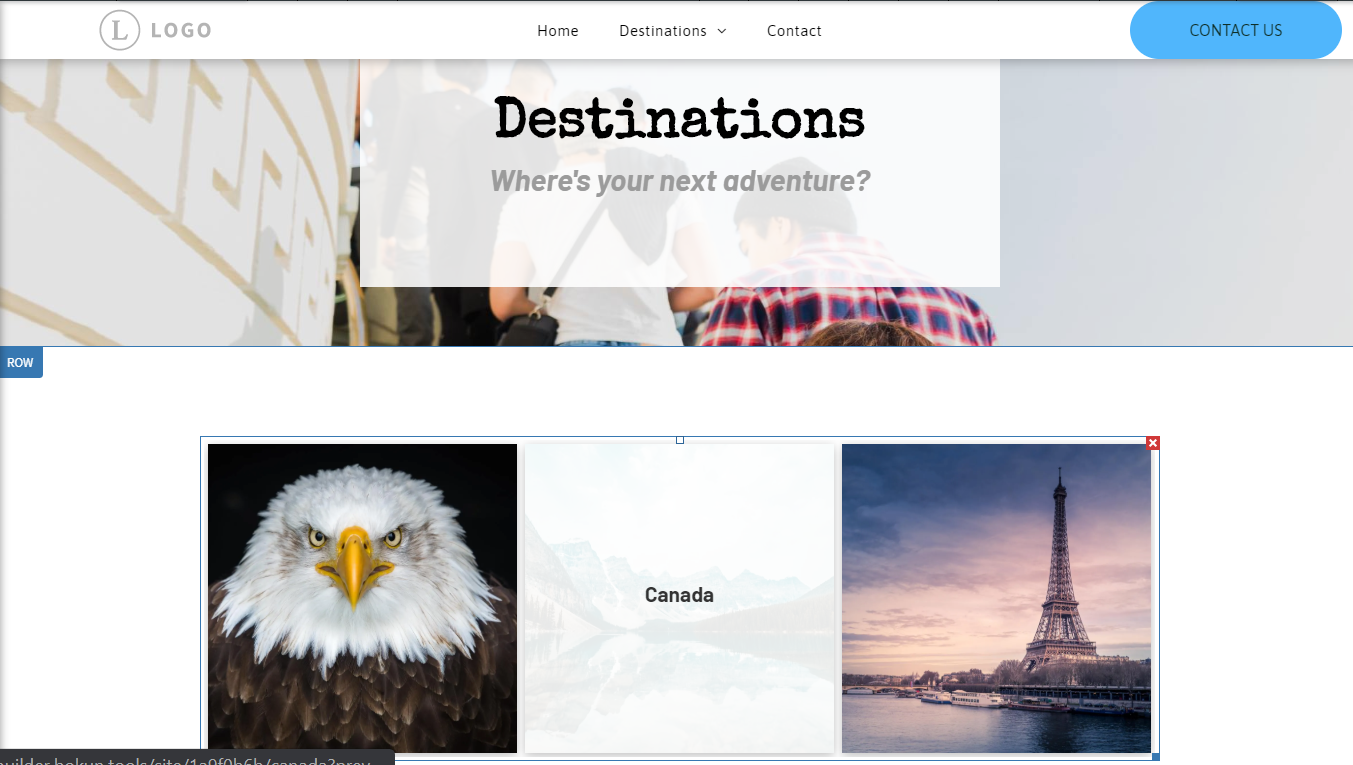
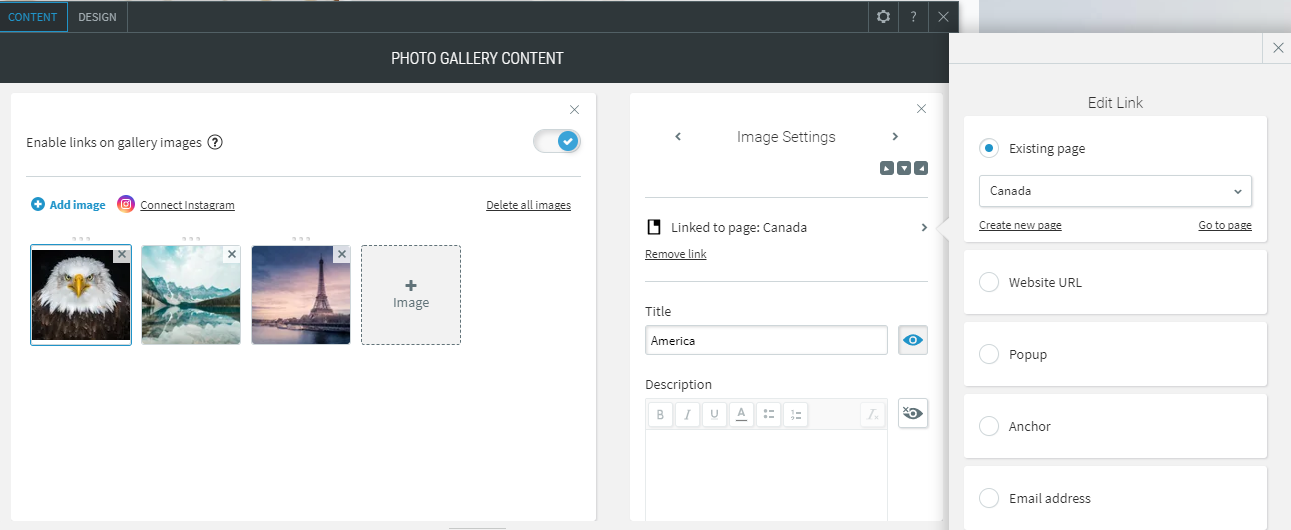
Note that this page should be fairly simple. The goal of this page is to get customers to your product quickly, and so it shouldn’t be overly filled with content. We would recommend using a Photo Gallery widget to help direct customers to the different pages you want to them.
This widget is very helpful as you connect your images to different pages in your site by toggling them here under Content, then selecting each image and linking them to existing pages as shown: